Berry Oat Bars: An Amazing Ultimate Snack Recipe
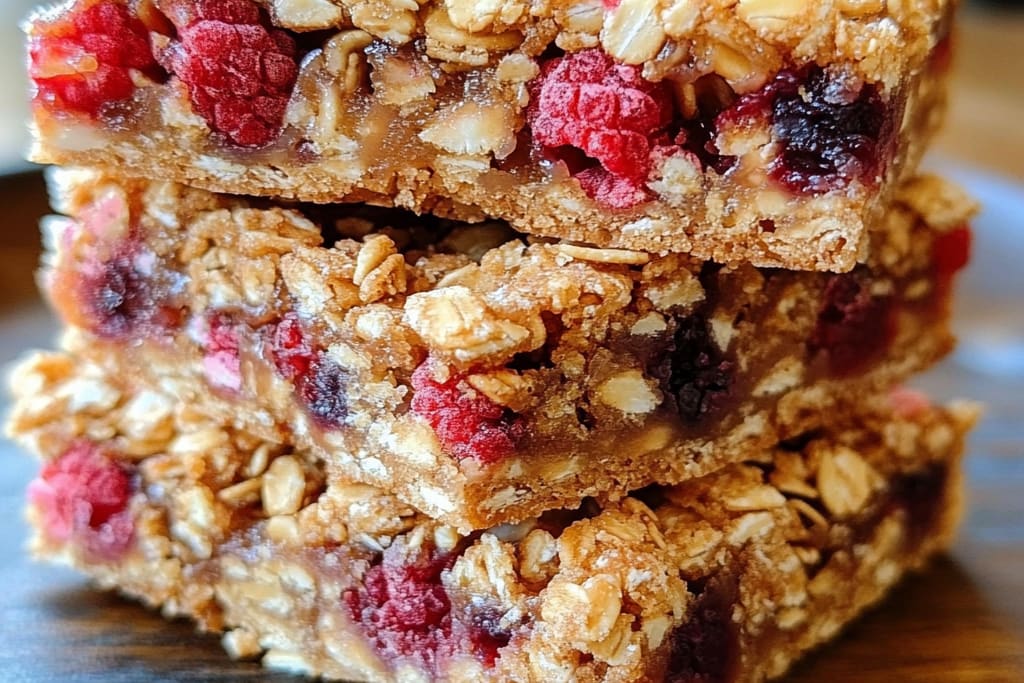
Berry Oat Bars are a wholesome and delicious snack that brings together the natural sweetness of berries and the heartiness of oats. These bars are not only easy to make but also packed with nutrients, making them a go-to snack for busy days or for satisfying sweet cravings without the guilt. Imagine biting into a soft and chewy treat that is bursting with flavor while offering the energy you need to power through your day.
Whether you’re at work, on the go, or enjoying a cozy afternoon at home, Berry Oat Bars provide that perfect balance between indulgence and health. They are ideal for breakfast on busy mornings or as an afternoon pick-me-up. Plus, they are customizable, allowing you to choose your favorite berries or even mix in nuts or seeds for added crunch.
Join me as we explore the wonderful world of Berry Oat Bars. In this article, you’ll learn why this recipe stands out, the simple preparation and cooking time, an essential list of ingredients, and detailed, step-by-step instructions for making these irresistible bars. Let’s dive in and discover why Berry Oat Bars should become a staple in your kitchen!
Why You’ll Love This Recipe
There are countless reasons to love Berry Oat Bars. Here are just a few that make them an exceptional choice:
1. Nutritious Ingredients – Packed with oats and fresh berries, these bars are rich in fiber, vitamins, and antioxidants.
2. Versatile Options – You can easily swap out different berries, nuts, or even add a hint of chocolate for a more decadent option.
3. Convenient Snacks – These bars can be made in batches, stored in the refrigerator, and enjoyed throughout the week.
4. Quick to Prepare – With minimal prep time, you can whip up a batch in under an hour.
5. Family-Friendly – Great for both kids and adults, they make for a perfect snack for lunchboxes or after-school treats.
6. Easy Storage – Once cooled, these bars can be cut and stored in an airtight container, keeping them fresh for several days.
These factors make Berry Oat Bars not just a recipe but a delightful addition to your lifestyle. Each bar is a wholesome choice that leaves you not just satisfied but energized!
Preparation and Cooking Time
Creating delicious Berry Oat Bars will take approximately 45 minutes from start to finish. Here’s a breakdown:
– Preparation Time: 15 minutes
– Cooking Time: 25-30 minutes
– Cooling Time: 10 minutes
This timeline makes it feasible even for those with the busiest of schedules. Once you try these bars, you’ll want to make them regularly!
Ingredients
– 2 cups rolled oats
– 1 cup mixed berries (fresh or frozen)
– ½ cup honey or maple syrup
– 1 cup almond or peanut butter
– 1 teaspoon vanilla extract
– 1 teaspoon cinnamon
– ½ teaspoon salt
– ½ cup chopped nuts (optional)
– ¼ cup flaxseed (optional)
Step-by-Step Instructions
Creating your Berry Oat Bars is simple if you follow these straightforward steps:
1. Preheat Oven: Set your oven to 350°F (175°C). Grease a 9×9-inch baking dish or line it with parchment paper for easy removal.
2. Combine Dry Ingredients: In a large bowl, mix together rolled oats, salt, cinnamon, and flaxseed (if using).
3. Mix Wet Ingredients: In another bowl, combine honey or maple syrup, almond or peanut butter, and vanilla extract. Stir until well mixed.
4. Combine Mixtures: Pour the wet mixture over the dry ingredients. Stir until everything is uniformly combined.
5. Fold in Berries: Gently fold in the mixed berries and chopped nuts (if using), ensuring they are evenly distributed throughout the mixture.
6. Transfer to Baking Dish: Spoon the mixture into the prepared baking dish. Press it down firmly to ensure the bars hold together during baking.
7. Bake: Place the dish in the preheated oven and bake for 25-30 minutes or until the edges are golden brown.
8. Cool: Once baked, remove from the oven and let it cool in the dish for about 10 minutes. Then transfer to a wire rack to cool completely.
9. Cut into Bars: Once cooled, cut into squares or bars as desired.
These steps will ensure you create perfect Berry Oat Bars every time!
How to Serve
To enjoy your Berry Oat Bars in the best way possible, consider the following tips:
1. Presentation: Arrange the bars neatly on a platter or in a basket for a visually appealing display.
2. Accompaniments: Serve with a side of yogurt or nut butter for dipping. A drizzle of honey can add extra sweetness if desired.
3. Storage: Keep the bars in an airtight container in the refrigerator. They can last for up to one week.
4. Portions: Slice into smaller pieces for snacks or larger slices for a more substantial breakfast option.
5. Pairing: Complement them with a hot cup of tea or coffee to enhance the snack experience.
By following these tips, you can elevate your Berry Oat Bars from simple snacks to delightful treats that everyone will love!
Additional Tips
– Check Berry Freshness: Use ripe and fresh berries for the best taste. Avoid any that are mushy or overripe.
– Oat Quality Matters: Opt for rolled oats instead of instant for a chewier texture.
– Monitor Baking Time: Every oven is different. Keep an eye on the bars to ensure they don’t burn.
– Try Different Sweeteners: If you prefer, substitute honey with agave syrup or sugar alternatives to meet your dietary preferences.
– Experiment with Spices: Add nutmeg or ginger for a unique flavor profile.
Recipe Variation
Feel free to customize your Berry Oat Bars. Here are some exciting variations to try:
1. Mixed Nut Delight: Incorporate a variety of nuts such as walnuts, pecans, or almonds for an extra crunch.
2. Chocolate Chip Treat: Add dark chocolate chips into the mix for a deliciously sweet and decadent touch.
3. Tropical Twist: Use dried fruits like mango or pineapple along with coconut flakes for a tropical flair.
4. Protein Boost: Mix in protein powder or use a high-protein nut butter to create a more satiating snack.
Freezing and Storage
– Storage: Keep your Berry Oat Bars in an airtight container in the fridge for up to one week. This will maintain their freshness and flavor.
– Freezing: You can freeze the bars for up to three months. Wrap them individually in plastic wrap or aluminum foil to avoid freezer burn. When ready to enjoy, simply thaw at room temperature or warm in the microwave.
Special Equipment
To create your perfect Berry Oat Bars, you’ll need:
– Mixing bowls for combining ingredients
– A wooden spoon or spatula for mixing
– A 9×9-inch baking dish for baking
– Parchment paper (optional, for easier removal)
– A wire rack for cooling the bars
Frequently Asked Questions
Can I substitute the nut butter?
Yes, you can use any nut or seed butter of your choice, such as sunflower butter for a nut-free option.
How do I know when the bars are done baking?
They should be golden brown around the edges. A toothpick inserted in the center should come out clean.
Are Berry Oat Bars suitable for kids?
Absolutely! These bars are a nutritious snack option that kids usually love, especially with the sweetness of berries.
What type of berries work best?
You can use any berries you like, such as blueberries, strawberries, raspberries, or a mix. It all comes down to personal preference.
Can I make these bars gluten-free?
Yes, using certified gluten-free oats will make these bars suitable for those with gluten sensitivities.
Conclusion
Berry Oat Bars are a delightful and nutritious snack that everyone can enjoy. Their versatility allows you to customize them to suit your taste preferences while still providing energy and satisfaction. With simple ingredients, quick preparation, and easy storage, these bars are a fantastic option for busy days or any time you need a healthy treat. Whether you’re looking for a breakfast boost, a post-workout snack, or an afternoon pick-me-up, Berry Oat Bars are sure to hit the spot and become a favorite in your kitchen!