Fruity Pebbles Popsicles: An Amazing Ultimate Treat for All
Fruity Pebbles Popsicles are a colorful and refreshing treat that brings back nostalgic memories of childhood breakfasts. Imagine the explosion of fruity flavors and vibrant colors found in each bite. These popsicles are not just a dessert; they are a fun and exciting way to enjoy a classic breakfast cereal turned icy delight. Perfect for hot summer days, parties, or just a special treat for the family, these popsicles have managed to capture the hearts of both kids and adults alike.
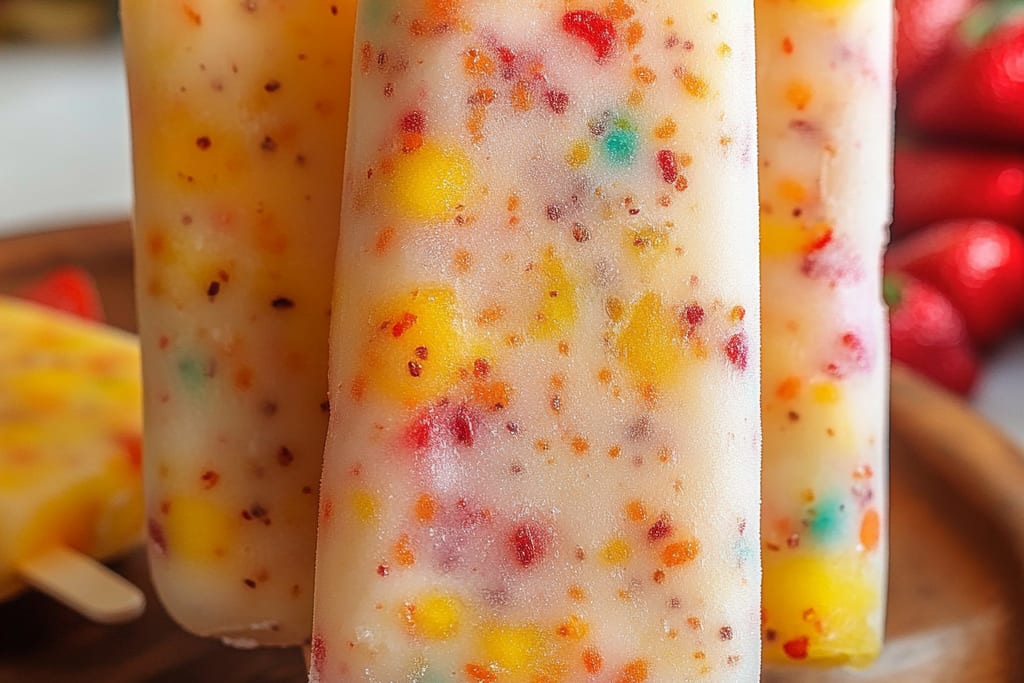
The first taste of a Fruity Pebbles Popsicle is nothing short of blissful. As you savor its fruity intensity, the unique crunch of the cereal mingles with the creamy base, creating a delightful texture that’s sure to impress. The simplicity of the ingredients makes this dessert easy to prepare, while also allowing you to customize your popsicles however you like. Whether you’re looking to relive some childhood memories or just satisfy your sweet tooth, these popsicles are the ultimate summer treat.
In this article, you will discover everything you need to know about making Fruity Pebbles Popsicles. From why you’ll love this recipe to the preparation and cooking time, as well as the complete list of ingredients, we’ll guide you through this fun culinary adventure. You’ll learn step-by-step instructions to create these amazing popsicles, ensuring every batch will turn out perfectly. Let’s dive into why these Fruity Pebbles Popsicles are a must-try treat!
Why You’ll Love This Recipe
There are countless reasons to fall in love with Fruity Pebbles Popsicles. Here are just a few:
1. Nostalgic Flavor – The iconic taste of Fruity Pebbles brings back fond memories of childhood breakfasts.
2. Colorful Presentation – The vibrant colors make these popsicles visually appealing, perfect for parties or gatherings.
3. Simple and Quick – With minimal preparation and cooking time, you can have these popsicles ready in no time.
4. Customizable – You can easily adjust the flavors or ingredients to suit dietary preferences or tastes.
5. Fun for Everyone – This recipe is suitable for both kids and adults, making it a great treat for family bonding.
6. Healthy Alternatives – Consider using yogurt or fresh fruit to make a healthier version without compromising flavor.
With these attributes, it’s easy to understand why Fruity Pebbles Popsicles have become a favorite summer treat! Each bite offers a perfect blend of sweetness and nostalgia, making them an amazing choice for any occasion.
Preparation and Cooking Time
The total time required to prepare Fruity Pebbles Popsicles is relatively short. Here’s a breakdown of what you can expect:
– Preparation Time: 15 minutes
– Freezing Time: 4-6 hours (or overnight for the best results)
These times may vary slightly depending on your equipment and freezing methods. However, the wait is well worth it when you indulge in these delightful frozen popsicles!
Ingredients
– 2 cups of Fruity Pebbles cereal
– 2 cups of yogurt (plain or flavored)
– ½ cup of milk (whole or low-fat)
– 2 tablespoons of honey or maple syrup (optional)
– Fresh fruit pieces (optional, for added texture)
Step-by-Step Instructions
Creating delicious Fruity Pebbles Popsicles is easy if you follow these simple steps:
1. Prepare the Molds: Gather your popsicle molds and set them aside.
2. Mix Ingredients: In a large bowl, combine the yogurt, milk, and honey or maple syrup (if using). Stir until well blended.
3. Add Fruity Pebbles: Gently fold in the Fruity Pebbles, ensuring they are evenly distributed throughout the mixture.
4. Pour into Molds: Carefully spoon the mixture into the popsicle molds, filling them about three-quarters full to allow for expansion.
5. Insert Sticks: If your popsicle molds come with sticks, insert them carefully into the center of each popsicle.
6. Freeze: Place the molds in the freezer. Allow them to freeze for at least 4-6 hours or until solid.
7. Remove from Molds: To release the popsicles, run warm water over the outside of the molds for a few seconds, then gently pull them out.
8. Serve Immediately: Enjoy your refreshing Fruity Pebbles Popsicles right away, or store them in a zip-top bag in the freezer for later.
By adhering to these straightforward steps, you will create delightful popsicles that not only look stunning but taste incredible!
How to Serve
Serving Fruity Pebbles Popsicles can enhance the experience significantly. Consider these tips for making a lasting impression:
1. Colorful Display: Arrange the popsicles in a vibrant bucket or a fun platter to showcase their cheerful colors.
2. Creative Toppings: Add a drizzle of chocolate or a sprinkle of additional Fruity Pebbles before serving for an extra touch.
3. Pair with Beverages: Serve with refreshing lemonade or iced tea to complement the popsicles’ sweetness.
4. Party Favors: If hosting a gathering, consider offering these popsicles as party favors for guests to take home.
5. Fresh Fruit Slices: Serve alongside fresh fruit slices for a balanced dessert option that appeals to various tastes.
By giving attention to how you serve these amazing Fruity Pebbles Popsicles, you can ensure that they are not just a treat, but a colorful and fun experience for all!
Additional Tips
– Use Fresh Ingredients: Select the freshest dairy products for creaminess and flavor. This ensures that each bite of your Fruity Pebbles Popsicles is delightful and refreshing.
– Experiment with Sweeteners: Depending on your taste, you might want to adjust the sweetness level with honey, maple syrup, or even agave for a healthier twist.
– Add a Splash of Flavor: Consider adding extracts such as vanilla or almond to elevate the flavor profile of your popsicles.
– Blend for Smooth Popsicles: If you prefer a smoother texture, blend the yogurt and milk mixture instead of just stirring. This approach creates a creamy consistency without chunks.
– Incorporate Crunch: Experiment with different types of cereals for added texture. Choose those that complement the fruity flavor, like granola or crispy rice.
Recipe Variation
Get creative with your Fruity Pebbles Popsicles! Here are some fun variations to try:
1. Yogurt Substitute: You can swap yogurt for coconut milk or dairy-free yogurt alternatives for a vegan version. This keeps the pops creamy while catering to dietary choices.
2. Fruity Mix-In: Incorporate fresh or frozen fruit. Chopped strawberries or blueberries mixed in can bring in extra freshness and flavor.
3. Layered Popsicles: Create colorful layers by pouring different flavors or colors into the molds one at a time. Allow the first layer to freeze briefly before adding the next.
4. Chocolate Version: For a chocolate twist, mix in cocoa powder or chocolate chips into the base mixture. This adds a rich flavor that’s irresistible.
5. Tropical Flavor: Swap Fruity Pebbles for a tropical cereal, like Tropical Fruit Pebbles, and add coconut milk for a refreshing summer treat.
Freezing and Storage
Freezing and storing your popsicles properly will keep them fresh for future enjoyment:
– Storage: After they are completely frozen, wrap the popsicles in plastic wrap or keep them in a zip-top bag. They will maintain optimum quality for up to 2-3 weeks.
– Freezing Tip: If you’re making multiple batches, consider labeling them with the date. This helps you keep track of freshness.
– Avoid Freezer Burn: To prevent freezer burn, ensure they are well-wrapped and stored in an airtight container.
Special Equipment
To successfully create these cheerful popsicles, gather the following equipment:
– Popsicle Molds: Choose molds that suit your aesthetic preferences. Silicone molds can make it easier to release the pops from their containers.
– Mixing Bowl: Use a large bowl for combining your ingredients thoroughly.
– Measuring Cups: Accurate measurements help achieve the best results.
– Spoon or Whisk: Use these tools for mixing and incorporating ingredients evenly.
– Freezer: Ensure you have adequate space in your freezer for the molds to sit flat while the popsicles freeze.
Frequently Asked Questions
How long do the popsicles need to freeze?
The popsicles usually require about 4-6 hours to freeze completely. For the best results, leave them in the freezer overnight.
Can I use different cereals?
Absolutely! While Fruity Pebbles are fantastic, feel free to experiment with other cereals. Just keep in mind that different cereals might alter the final flavor and color.
Why do my popsicles stick to the molds?
If they stick, you might not have let them freeze long enough. Alternatively, running warm water over the outside of the molds before releasing will help ease them out.
Can I use alternative milk?
Yes! Almond milk, coconut milk, or any non-dairy milk can be used in place of traditional milk if desired.
Are these popsicles suitable for toddlers?
Yes, these popsicles are suitable for children, but always supervise young children with popsicles to avoid choking hazards.
Conclusion
Fruity Pebbles Popsicles make for a perfect sweet treat on a hot day. With their vibrant colors and nostalgic flavors, they embody the essence of summer fun. The combination of the fruity cereal and creamy base creates a delightful dessert that everyone will love. Create these popsicles for your next summer gathering or just to brighten up any day. With simple ingredients and easy steps, your homemade Fruity Pebbles Popsicles are bound to be a hit!